Astronomical equipment isn’t cheap, especially if you delve into the wonderful world of astrophotography, and the last thing you (or your credit card) want is for your equipment to require repairs or even replacement. Following these guidelines can help to ensure your equipment provides you with the best quality views and for many years to come.
Storing Your Equipment
Few of us are lucky enough to have an observatory in our backyard, and it’s usually not a good idea to leave your equipment outside. The weather has an uncanny ability to sense the presence of astronomical equipment – especially new equipment – and will do everything it can to summon the rain clouds and spoil your fun.
Obviously then, you need somewhere to store your scope, eyepieces, binoculars and other accessories when the weather isn’t co-operating. For starters, you’ll want somewhere dry and, ideally, as dust-free as possible. Since we’re considering ideal scenarios, a location that closely matches the outdoor temperature is also a plus, as this means the telescope will require less time to cool down once the skies clear and you can venture back outdoors.
A garage or outdoors shed is a potential option, especially since it can provide you with easy access, but make sure it doesn’t get too hot. In particular, sheds and other outdoor storage facilities can trap heat inside, making it harder for your scope to cool when it’s time to start observing.
Backyard storage locations can also suffer from the opposite problem – moisture. We all know moisture is bad for your scope, as damp conditions can cause mold and mildew to form and potentially ruin your equipment.
With all this in mind, it might be worth sacrificing some cool-down time by keeping your kit inside, preferably away from any windows (especially any that might not be properly insulated.) A basement can be a good option, but not if it’s dusty or potentially humid. However, an unused closet, if you have one, is definitely worth considering.
If you have no other option or you live in a humid location, consider buying a dehumidifier. The extra cost is worth the investment to keep your equipment safe!
Whether you have binoculars or a telescope, eyepieces or other accessories, always make sure to use the caps and covers the manufacturer provided with the equipment. Likewise, keep the eyepieces in the plastic containers they came in, as the extra protection will help to keep out the dust.
One last thing – if possible, store your scope so that the aperture is pointing down. This will stop dust from falling into the optical tube and prevent any dust from collecting on the lens or mirror itself.
Cleaning Your Equipment
The Do’s and Don’ts of Cleaning
Regardless of how carefully you store your equipment, you’ll probably find yourself needing to clean it at some point. Whether you’re cleaning the lens or mirror of your scope, your binoculars or your eyepieces, there are a few do’s and don’ts you should be aware of.
| Do | Don’t |
| Clean only when necessary | Don’t clean unless you see dust or dirt |
| Clean during the daylight hours | Don’t clean at night, when dirt is harder to see |
| Have internal optics cleaned by a professional | Don’t disassemble your equipment or clean internal optics |
| Use a camel hair brush for lenses or sterile surgical cotton for mirrors | Don’t use cotton buds or paper towels |
| Use an air bulb | Don’t blow on the lens or mirror |
| Use alcohol based cleaning fluids | Don’t use acetone or nail polish remover |
| Spray the solution onto a cleaning cloth | Don’t spray solution directly onto the optic |
| Be as gentle as possible | Don’t scrub or use force |
One misconception is that you need to clean the lens or mirror of your scope on a regular basis. The thinking is that even a small amount of dust can cause problems, but that isn’t actually the case. The truth is that a very thin layer of dust isn’t going to make a lot of difference – but that doesn’t mean you needn’t worry about dust and dirt at all.
If you happen to notice any dirt or marks then it’s time to consider cleaning. Firstly, this might sound obvious, but clean your optics during the day, when you can properly see what you’re doing. We’ve all noticed dust and dirt on an eyepiece while we’re observing, and although it’s tempting to try cleaning it in the dark, the reality is that it’s not really feasible.
Blowing on your optics is a little controversial. Some see no harm in this, but it can also cause the optics to mist over and leave a small amount of moisture behind, which can then result in its own problems. That being the case, it’s better to use short bursts of air from an air bulb instead.
(Be wary of compressed air in a can, as this can also leave moisture on the optics.)
It’s a similar story with cotton buds; some folks have no issue with them, but the bud may be a little too coarse for your optics and can potentially scratch the lens. Likewise, paper towels must never be used, for the same reason.
Lastly, never disassemble your equipment to clean the internal optics (except to remove the mirror in a reflector, if necessary.) Your equipment has been designed and manufactured by experts, and while it might be easy to disassemble, putting it back together is another story entirely!
Of course, prevention is better than cure, and storing your scope under a cover will provide the best protection. In this situation, you shouldn’t have to worry about dust or dirt on the internal optics at all. However, if you find the internal optics have somehow become dusty or dirty, it’s best to send it to the manufacturer or a professional third party for proper cleaning.
Cleaning Your Eyepieces and Refractor Lens
Perhaps the easiest solution is to buy an eyepiece cleaning kit, as this will give you everything you need. For example, Celestron have a reasonably priced kit that should work fine with both your eyepieces and your telescope lens.
You’ll need:
- Isopropyl alcohol – the purer the better. Do not use acetone.
- A soft, microfiber cloth or lens tissue. Avoid anything that might scratch the lens or leave lint behind.
- A soft, anti-static brush or bulb-type air blower. Some prefer a blower as nothing touches the lens.
You’ll first need to clean the lens surface of any dust. You can use the air blower in quick, short bursts (it’s more effective that way) or a soft anti-static brush. If you’re using a brush, only brush in one direction and clean the brush each time to avoid re-applying the dust you just removed.
Next dampen the cloth with the alcohol. You’ll want to make sure it’s not too wet, as the last thing you want is for any of the cleaning fluid to drip onto the lens or eyepiece. Never spray solution directly onto the lens as it can pool around the edges.
If you’re cleaning your eyepiece, you should very gently dab it with the cloth.
If you’re cleaning your telescope lens, start at the center and then slowly and gently work your way out, in a circular motion. The key word here is gently. Don’t apply any real force and never try to rub any marks or dirt off, as you could easily damage the lens. You may need to repeat this step several times; that being the case, disposable len tissues are preferable as you can use a clean one each time.
Lastly, whether you’re cleaning your eyepiece or your telescope lens, allow it to dry for at least an hour.
Cleaning Your Primary Mirror
Cleaning your primary mirror is also a relatively straightforward process – you just need to handle the mirror with extreme care!
Here’s what you’ll need:
- Lukewarm water
- A sink or plastic bowl
- Dish detergent
- Distilled water
- Soft towel
You’ll need to remove the mirror from the optical tube first, and for this it’s best to consult with the manual or contact the manufacturer. You typically need to unscrew the mirror cell and then remove the bolts that hold the mirror in place.
Before you do anything else, carefully inspect the mirror. Gently angle the mirror toward the light; the image should appear uniformly bright and clear, but if it seems a little patchy then there’s dirt there.
Fill the plastic bowl with lukewarm water and add a few drops of dish detergent. Gently place the mirror into the bowl and let it soak for four or five minutes. Then, remove the mirror, rinse it first with clean, lukewarm water, and then rinse it again with the distilled water.
Lastly, place the mirror on the soft towel at a steep angle and let allow it to dry.
A few points to bear in mind here:
- You may need to wash the mirror several times
- Some folks will wipe the mirror (without applying any force) with soft cotton wool after it’s done soaking, but before rinsing. However, your mirror is incredibly delicate, so if you choose to go that route, it would be wise to exercise extreme caution!
Collimating Your Mirror
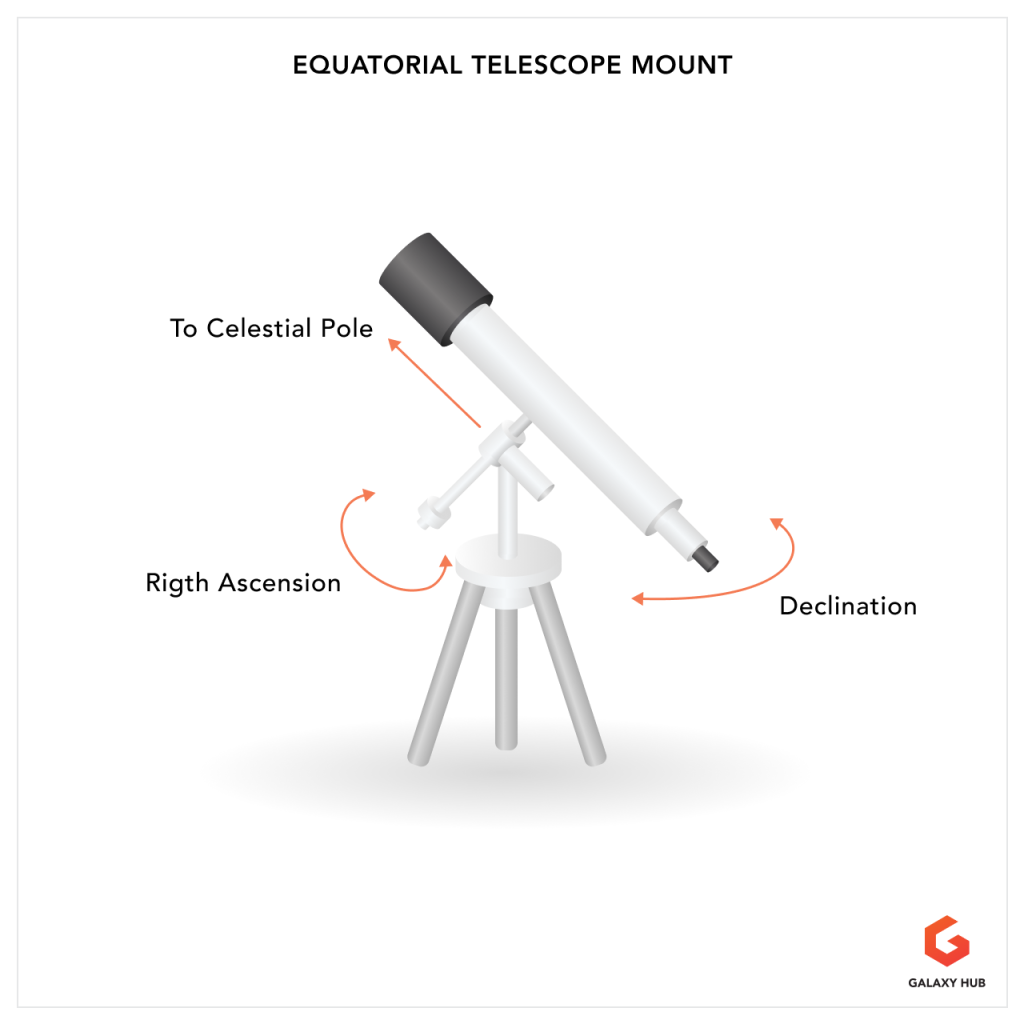
If you own a reflector telescope, you’ll need to ensure the primary mirror, secondary mirror and focuser are all in alignment. Misalignment can be caused by accidental knocks to the optical tube, but even the most careful observer will find the alignment shifting a little over time.
Misalignment results in poor image quality; for starters, you’ll have difficulty focusing on your target and stars will appear distorted, rather than sharp pinpoints of light.
We’ll cover collimation in greater detail in another article, but if nothing else, you’ll want to get a few tools to help you, such as a Cheshire collimater and/or a laser collimator. With a Cheshire collimator you’ll see crosshairs that can be used to align the mirrors. A laser collimator is quicker, but some folks question their accuracy. More specifically, the mirrors may appear aligned when in fact they are not.
Collimation a relatively straightforward process that involves adjusting the screws that hold the primary and secondary mirrors in place. It can be a little daunting at first, but the tools can help you get a more precise alignment, and get it done more quickly.
Taking care of your equipment may be a necessary part of the hobby, but it doesn’t have to be a chore. Following these basic steps can help your equipment remain in pristine condition and reduce the frustration of needing to repair or replace anything that’s no longer at its best.