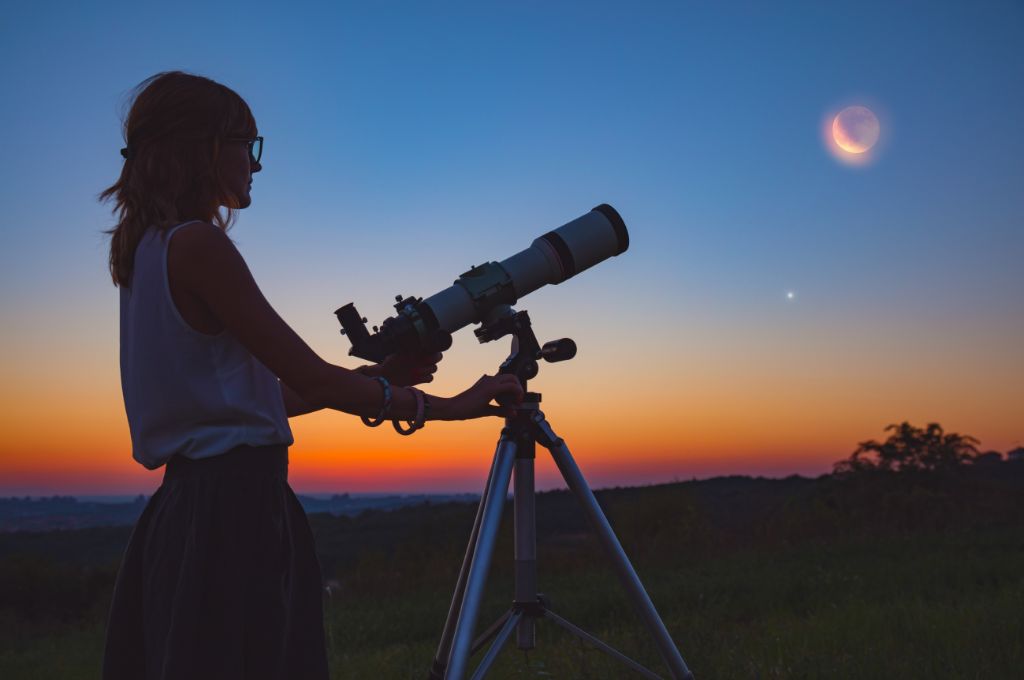
Everyone remembers their first telescope – and for good reason. After staring at the night sky with just your eyes, it now seems as though the Moon, planets and even the distant stars themselves are now within your reach. The entire universe is at your doorstep. There’s just one problem: a lot of it seems fuzzy and out of focus. Why is that? And what can you do to fix it?
How Telescopes Work
Let’s start with the basics.
There are essentially two primary types of telescope – refractors and reflectors. A refractor is what you might consider to be a traditional type of telescope. It’s typically a long tube with a lens at one end and an eyepiece at the other.
The problem with refractors is that they can be unwieldy; the larger the lens, the more detail you can see, but the larger the lens, the longer the tube, which makes the telescope both heavy and difficult to look through. As a result, most manufacturers won’t produce refractors with a lens larger than around 150mm, or 6 inches, which is a problem, as this can make it difficult to detect some fainter targets, such as galaxies.
A reflector works a little differently. Instead of a lens, light enters the telescope through the open end of the tube. It then travels down the tube to a primary mirror, which reflects the light back up to a smaller, secondary mirror. This mirror then bounces the light out of the tube through the eyepiece.
The advantage here is that you’re not restricted by the size of the lens; by reflecting the light back up the tube, the mirror effectively doubles the length of the tube, but without requiring the tube itself to be physically twice as long. This allows for larger mirrors, which in turn, allows for more light to enter the telescope and for more detail to be seen.
How to Focus Your Telescope
Regardless of the type of telescope you own, they all have a focuser. This is a short barrel that protrudes from the telescope tube with two knobs below it. If you own a refractor, the focuser can be found at the bottom of the telescope tube, at the opposite end from the lens. If you own a reflector, it will be near the top of the tube, close to the open end.
To use the telescope, you only have to insert the eyepiece into the focuser and then, while looking through the eyepiece, turn the knobs until the view comes into focus. It’s a good idea to practice this during the day on a terrestrial target, such as a distant building, telegraph pole, or something similar.
Beyond this, when it comes to focusing your scope and getting the sharpest views, there are a few other things you should keep in mind.
Your Telescope Has a Magnification Limit
As mentioned above, how much light your telescope can gather depends on the size of either the lens (in a refractor) or its mirror (in a reflector.) This is known as the telescope’s aperture, and you’ll typically see it specified in millimeters. The most important thing to remember is that the more light your telescope can gather, the more detail you can see, and you’ll need that to clearly see objects at high magnification.
Put another way, any telescope can, theoretically, magnify the view by any amount, but only a large aperture scope can gather enough light to deliver the clear views you’re looking for.
For example, we’ve all seen telescopes in department stores that brag of delivering a magnification of 1,000x. While this isn’t necessarily inaccurate, you can bet your bottom dollar the view won’t be anything more than a blurry blob. This isn’t just because of the small aperture (most only have an aperture of around 70mm) – they’re also poorly made and little more than toys.
(While it’s true that many amateur astronomers got into the hobby as a kid using a telescope like this, there are reputable companies – such as Celestron and Orion – who produce good quality, inexpensive telescopes for beginners of all ages.)
How to Calculate Your Magnification
Since you’ve probably used different eyepieces with your telescope and experienced different magnifications, you may be wondering how you can calculate the magnification you’re using. Perhaps not surprisingly, this will depend on both the telescope and the eyepiece, but there’s an easy way to find out.
Every telescope has a focal length. This is the distance that light must travel from the lens or mirror to the point where it is focused. Fortunately, you don’t need a tape measure for this, as it should be stated on the side of the telescope tube, usually close to the focuser, where the eyepiece is inserted.
All eyepieces have a focal length too, and you’ll find this number printed at the top or side of the eyepiece. (Incidentally, whether you’re referring to the focal length of the telescope or the eyepiece, it’s always measured in millimeters.)
To calculate the magnification of the eyepiece you’re using, you simply divide the focal length of the telescope by the focal length of the eyepiece. For example, if your telescope has a focal length of 1000mm and you’re using a 10mm eyepiece, you’ll have a magnification of 100x when you use that eyepiece with that telescope.
Use that same eyepiece with a telescope with a focal length of 600mm and you’ll get 60x. Swap it out for a 20mm eyepiece to produce a magnification of 30x.
Different eyepieces then, will produce different magnifications with different telescopes – something worth remembering if you plan on using your existing eyepieces with a new telescope further down the road.
How to Calculate Your Telescope’s Maximum Useful Magnification
Now you know how to calculate the magnification, you should also know that your telescope will have a magnification limit – called its maximum useful magnification. Going beyond this maximum will most likely only produce blurry views – quite simply, your telescope isn’t capable of gathering enough light to provide the detail you need to sharply focus your target.
It’s therefore worth knowing this number before buying your telescope or attempting to observe anything that might require it, such as smaller deep sky objects (eg, planetary nebulae and galaxies ) or the planets.
How can you calculate your telescope’s maximum useful magnification? There’s no clear cut answer here, as the clarity of the view will also depend on a number of other different factors – such as the quality of the telescope and of the eyepiece – but many people will take the telescope’s aperture in millimeters and multiply it by two. If you know your telescope’s aperture in inches, you should multiply that number by 50.
For example, if you have a 114mm aperture telescope, your telescope’s magnification limit is about 228x, whereas if you own a scope with an aperture of 6 inches, you can expect to reach a magnification of around 300x.
Knowing the magnification you’re using and the maximum useful magnification of your telescope will help to ensure you get clear views every time.

Focusing Tips & Tricks
Knowing the basics of magnification can help you obtain clear views of the target, but it’s really just the beginning. There are a number of other things you need to remember when it comes to focusing your scope. In no particular order, some of the key tips and tricks are:
Different factors will affect the clarity of the view
There are a number of different factors that will affect how clearly you’re able to see your target, including your own eyesight (see below.)
For starters, there’s the quality of your equipment. Buying your telescope and accessories from a reputable manufacturer (such Celestron, Meade, Orion, TeleVue, etc) is a good start, but it goes a little further than that, especially when it comes to eyepieces.
When you buy a telescope, you’ll typically receive a couple of eyepieces to get you started, but they’re not usually of very good quality. With that in mind, it’s a good idea to invest in some replacements, otherwise you’ll find your telescope won’t be used to its full potential.
It should come as no surprise to learn that higher quality optics come with a higher price tag, and manufacturers will price their eyepieces accordingly. However, before you spend your hard-earned cash on the best eyepieces you can afford, you should also consider your telescope.
Larger aperture, better quality telescopes will certainly benefit from top quality eyepieces, but using a Tele Vue Ethos eyepiece on a 70mm tabletop reflector is like using Pirelli tires on a Smart car – you’ll almost certainly notice some improvement, but you won’t be getting the full benefit.
Telescopes can be expensive, but so can eyepieces, and it’s not usually a good idea to spend more on a single eyepiece than you spent on the telescope. Consider your budget too; you can easily find some fine eyepieces for a small scope for under $100.
Besides equipment, you’ve also got to consider the current weather conditions. Just because the skies are clear, it doesn’t necessarily mean they’re steady. You might be able to easily find your target, but you might find that focusing is problematic as the currents in the air make the view shimmer. It’s like trying to look at a coin at the bottom of a swimming pool.
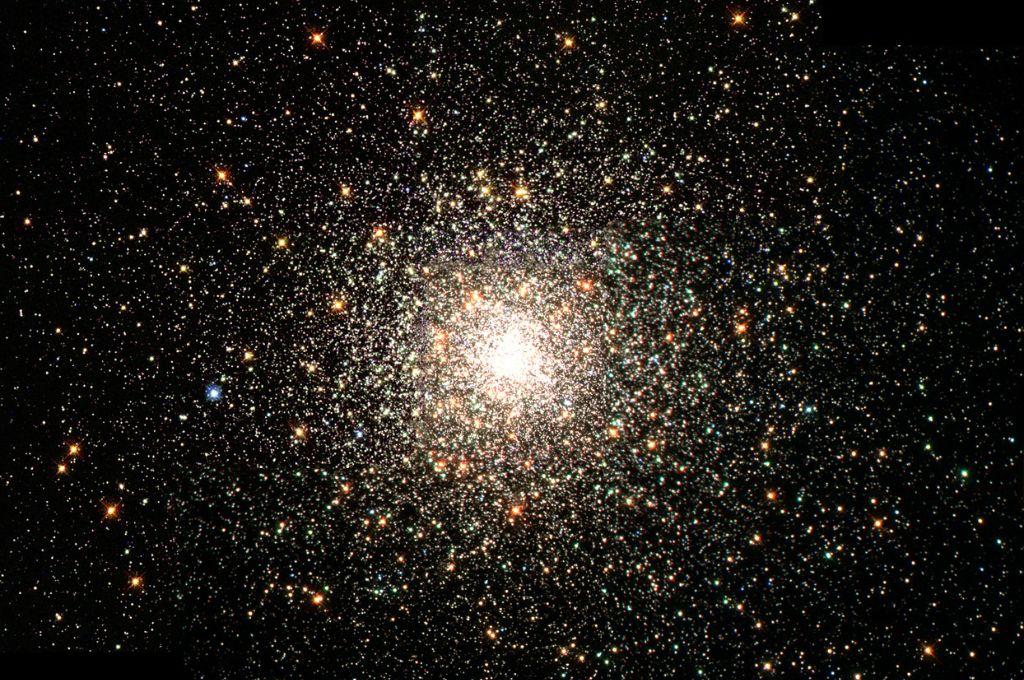
Lastly, if your location suffers from light pollution, then fainter, nebulous objects (such as galaxies, globular clusters and, of course, nebulae) will be harder to observe. Not only will they be difficult to locate, but focusing will also be problematic because their light is being smothered by lights closer to home.
Some objects can’t be sharply focused
There are some objects that are easy to focus on; for example, craters and mountain ranges on the Moon will cast shadows that allow for sharp views when focused properly. (The exception is the full Moon, as at that time sunlight is directly striking the lunar surface and there are no shadows to be seen.)
Multiple stars and open star clusters are also pretty easy to focus, as the stars themselves are sharp points of light.
Other objects can be trickier. The planets appear small and their appearance is susceptible to the moving air currents. You’ll also find that Venus and Jupiter may be better observed during twilight, when the skies are not yet completely dark.
Both these planets are bright, and when the skies are dark, the contrast between the planet’s bright disc and the background sky can be too much. Not only does this make it harder to focus, but you’ll also find that features on the planet’s disc are difficult to discern. (However, a filter can help with this.)
Of the rest – globular star clusters, diffuse nebulae, planetary nebulae and galaxies – these can be difficult to focus. The reason is because they don’t have any sharply defined edges. By their very nature, they appear nebulous.
This being the case, you can use a relatively bright star within the same field of view as a target for focusing.
Lower magnifications are usually easier to focus
There’s a simple reason why lower magnifications are usually easier to focus – they have a wider field of view and, consequently, more stars can be seen close to your target. You can then use those stars to focus.
But what if you want to view the target at a higher magnification? There are a number of options here.
- You can move the telescope slightly so that a star comes into view you can focus on. (Just be sure you can find your target again!)
- You can buy and use a wide-angle, short focal length eyepiece. This will give you both the magnification and the field of view you need.
- You can use a barlow lens. A barlow will multiple the magnification of any eyepiece you use with it and still keep the same field of view. For example, if you have a 50x eyepiece with a wide field of view, you can use a 2x barlow to get 100x and not lose the wide view. This will give you a better chance of having a few stars within the same field of view to focus on.
Not everyone’s eyes are the same
Unfortunately, not everyone has perfect vision, and while the target may appear in sharp focus when you look through the eyepiece, the same may not be true if you share the view with a friend or family member. With that in mind, each person may need to adjust the focus to suit their individual needs.
You’ll need to adjust the focus when you change the eyepiece
Lastly, just as each person will need to adjust the focus when they look through the eyepiece, so you’ll also need to re-focus the view when you switch eyepieces. That’s because each eyepiece has a different focal length, so the image is coming into focus at a different point each time.