Light can be a challenge to measure without defining the exact quality of light being measured.
Choosing between apparent, absolute, surface brightness, and integrated magnitude can be hard to figure out, let alone actually use.
To put it simply, apparent brightness is how bright a star looks, absolute magnitude is how bright a star looks from exactly 10 parsecs (34 light years), surface brightness compares the brightness of a square of sky to a single star, and integrated magnitude is how bright all of the light coming from an object is put together.
Using these measurements, astronomers can determine if their target is visible or not.
How is Light Measured: A Brief History of Light Measurement
Early astronomers and scientists had a faint concept of brightness, but didn’t have instruments to measure the light for them. To make measurements by eye, astronomers would compare stars to each other, grouping them by this visible brightness.
Around 200 BC, Hipparchus used this method, noting if the stars were bright or faint in his catalog of stars. This simple method is still used by the uninitiated and experts in astronomy today; try to point out an object in the night sky without referring to ‘the bright star over there!’
The system worked well enough, but was only qualitative and not quantitative in nature. It wasn’t until Ptolemy that numbers would be applied to brightness.
Around 150 AD, Ptolemy devised the magnitude system for classifying stars by brightness, ranking the visible stars from one (brightest) to six (faintest). At the time, astronomers believed that stars were all the same brightness, and simply different distances from the Earth.
As a result, early astronomers considered the magnitude system to be a measure of bigness rather than brightness. This was put to the test by Tycho, who determined the angular size of first and second magnitude stars at his observatory in Uraniborg.
Even after the discovery of the telescope, astronomers considered the magnitude of a star to be a measure of bigness, although the diameter of the stars would change when viewed through different telescopes.
Eventually in the 1800s, scientists and astronomers understood astronomical seeing and optical diffraction well enough to explain the ‘size’ of the stars in their telescopes as a function of their brightness rather than bigness.
Finally, in 1856, Norman Pogson determined that the magnitudes of stars were by brightness, and that the first magnitude stars were about 100 times brighter than the sixth magnitude stars.
Splitting this among the 6 magnitude classes, he found that each magnitude was 5√100 ≈ 2.512 times brighter than the previous class.
Using his magnitude scale, magnitudes could be determined with cameras and photodetectors, allowing astronomers to accurately determine negative magnitudes as well as magnitudes past 6. This definition of the magnitude is still used today.

Apparent Magnitude
Star brightness is measured experimentally as the Apparent Magnitude of the star. This means that you measure the magnitude of a star as it appears to the observer, compared to other ‘standard’ stars around it.
Instruments were traditionally calibrated to Vega, a notably stable star with magnitude 0. Stars that are 2.514 times dimmer than Vega are magnitude 1; stars that are 2.514 times dimmer than the magnitude 1 stars are magnitude 2, and so on.
Likewise, magnitude can go in the negative direction and go past 6. Some notable examples of apparent magnitude are given below:
| Object | Apparent Magnitude |
| Sun (The Brightest Star) | -27 |
| Full Moon | -13 |
| Venus (The Brightest Planet) | -5 |
| Sirius (The Second Brightest Star) | -1 |
| Vega | 0 |
| Antares | 1 |
| Polaris | 2 |
| Cor Caroli | 3 |
| Acubens | 4 |
| Vesta | 5 |
| Naked Eye Limit | 6 |
How to Find Apparent Magnitude
Objects fainter than this can be measured with telescopes and photography.
Modern astronomy cameras count the number of photons per each pixel, so astronomers can easily add up the total brightness of stars and determine the difference in magnitude between them.
To compare two stars by magnitude, a simple formula can be used. Given a reference star magnitude mref and brightness Iref, a star of interest with I1 will have magnitude m1 with

With the advent of accurate photometers and cameras, astronomers realized that even Vega wasn’t a perfect candle, varying over time by ~0.03 magnitudes and varying significantly in brightness from one color to another.
To improve calibration standards, astronomers today use the AB Magnitude system, where magnitudes are defined by a light flux rather than an object. Flux can be thought of as the number of photons passing through an area per second. This relationship can be determined by

where Jy is janskys, a unit of light flux.
Absolute Magnitude
Apparent magnitude is useful from an observational standpoint, but doesn’t tell astronomers much about the star itself.
Much like how distant streetlights can appear dim, stars appear less bright the further away they are. To find out how bright a star actually is, astronomers use a standard distance to determine Absolute Magnitude.
How to Find Absolute Magnitude
Absolute magnitude is the magnitude a star would appear if it were exactly 10 parsecs (32.6 light years) away from the observer. This allows stars to be compared to each other directly, and is one of the most useful pieces of information astronomers can determine about a star. To determine absolute magnitude, the following formula is used;

where m is apparent magnitude, M is absolute magnitude, and d is the distance to the star in parsecs.
What is the difference between absolute and apparent magnitude?
Below is a table of common objects by apparent magnitude and absolute magnitude. Some of the objects we typically consider dim are much brighter than expected! Likewise, the brightness of the sun is lower than we might expect.
| Object | Apparent Magnitude | Absolute Magnitude |
| Sun | -27 | 4.8 |
| Alpha Centauri | -0.3 | 4.1 |
| Canopus | -0.7 | -3.1 |
| Rigel | 0.14 | -7.1 |
| Deneb | 1.26 | -7.1 |
Does color affect brightness?
Color can change how brightness is measured significantly. For example, a pulsar may be invisible in the visible spectrum, but in radio wavelengths brighter than the sun! To address this, astronomers have conventions to describe color.
The earliest formal color system, known as the UBV or Johnson system, was invented in the 1950s to separate ultraviolet, blue, and visible light passing through telescopes.
While most may find it strange, this system uses V for green. Since green is the center of the visible spectrum, many astronomers use V for green light to this day. Eventually, this system was expanded to UBVRI, as cameras became more sensitive to red and infrared light.
To specify the magnitude of a star in different colors, astronomers will use a subscript for the color letter next to the m. For example, the magnitude of a star in red would be mR, while the absolute magnitude of a star in green would be MV.
Other colors astronomers use include Luminance (L) and Bolometric (BC) colors. Luminance refers to the entire range of human vision, from about 400 to 700 nanometers in wavelength.
This excludes the colors humans can’t see, masking the IR and UV range that modern sensors still pick up.
Likewise, bolometric luminosity is the total power output of a star in all wavelengths combined. The bolometric luminosity can be determined using a bolometric correction. Magnitudes in luminance and bolometric luminosity are referred to as mL and mbol, respectively.
How to Find Surface Brightness
Not all objects in the night sky are as compact as a star.
Some extend over a wide area, like galaxies and clusters. Determining the brightness of these objects then becomes a challenge using the previous approaches. Taking all of the light flux of an object and determining a magnitude from it (the Integrated Magnitude) can be misleading!
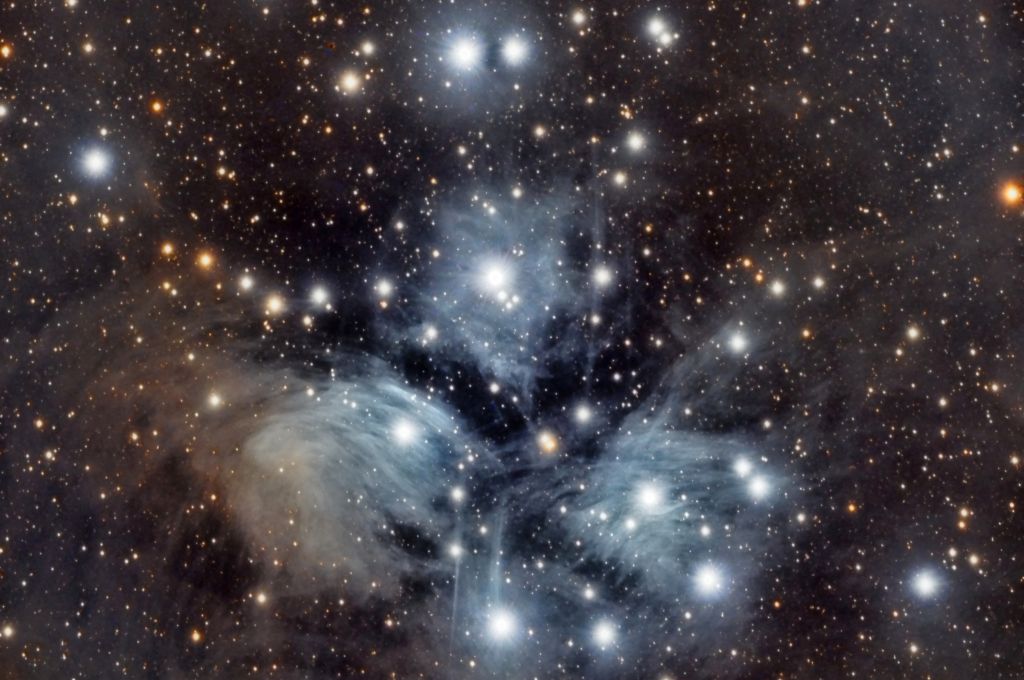
For example, the Andromeda galaxy would have an apparent magnitude of 3.4, which should appear visible even in a fairly light polluted area! This doesn’t match what we observe in the night sky, and doesn’t give much of an indication if the object is easily visible or not.
Astronomers tackle this problem using surface brightness, a measure of flux density per unit area. This averages out the brightness of the object across the entire object.
This is typically quoted as magnitudes per square arcsecond (MPSAS), as if a star were smeared across a square patch on the sky. This allows astronomers to specify what parts of an object have what brightness, especially when studying how light is distributed around an object!
Eyes are better at detecting light from a diffuse, or spread out, source than from a point source like a star.
This means that it is easier to see objects with a diffuse brightness than objects with a point source. The core of the Andromeda galaxy is ~11 magnitudes per square arcsecond, but is still visible to the eye. The outer edge of the galaxy can be seen with telescopes at 22 magnitudes per square arcsecond, a much dimmer target!
Some classic objects, with their surface brightness and integrated magnitude, are given below.
| Object | Integrated Magnitude | Lowest Surface Brightness (mag/arcsec2) |
| Orion Nebula | 4 | 17 |
| Andromeda Galaxy | 3.4 | 11 |
| Triangulum Galaxy | 5.7 | 14.2 |
| Bode’s Galaxy | 6.9 | 25 |
One interesting thing about surface brightness is that even though brightness drops as the object is viewed from further away, it also gets smaller by the same ratio.
This means that surface brightness is the same for an object regardless of distance! Likewise, a surprisingly easy approximate conversion between integrated magnitude mIntegrated and surface brightness SB can be used for most diffuse objects (assuming they are nearly 1 square arcminute in size),

Sky Brightness
The night sky itself has a surface brightness as well. This means that every object in the night sky is competing with light from the atmosphere! Sky surface brightness (in magnitude per square arcsecond) is classified by the Bortle scale, shown below.
| Bortle Number | 1 | 2 | 3 | 4 |
| Surface Brightness | 21.99–22.0 | 21.89–21.99 | 21.69–21.89 | 20.49–21.69 |
| Description | Excellentdark-sky site | Typical truly dark site | Rural sky | Rural/suburban transition |
| 5 | 6 | 7 | 8 | 9 |
| 19.50–20.49 | 18.94–19.50 | 18.38–18.94 | <18.38 | <18.38 |
| Suburban sky | Bright suburban sky | Suburban/urban transition | City Sky | Inner City Sky |
Can I see my target?
When the night sky competes with your target, it can be hard to know if your object of choice will be visible or not. For a naked eye observer, this is relatively simple. Each Bortle number corresponds with a limiting magnitude, above which stars are rendered imperceptible. Below is a chart of the Bortle scale and limiting magnitude.
| Bortle Scale | 1 | 2 | 3 | 4 | 5 | 6 | 7 | 8 | 9 |
| Naked Eye Limiting Magnitude | 8 | 7.5 | 7 | 6.5 | 6 | 5.5 | 5 | 4.5 | 4 |
For astronomers equipped with telescopes, this becomes an extremely complex subject.
Visibility depends on factors ranging from how bright the moon is, to whether the object is populated by stars or dust, to what color the object is. Telescope exit pupil, observer skill and age, and object altitude become important. Filters can completely change the calculation as well.
A simple rule of thumb is that if an object’s surface brightness is less than the sky brightness, you should be able to see it with a telescope.
For each MPSAS greater than the object surface brightness that the sky becomes, difficulty seeing the object doubles. For example, an astronomer with a telescope should be able to faintly see the core of the Andromeda galaxy through a telescope even Bortle 9 skies.
Ultimately, the best way to determine if an object is visible is to simply try and find it. Don’t let yourself be discouraged if you can’t see an object on the first try, as you may not be fully dark adapted yet.
For astronomers with astrophotography equipment, simply increasing exposure length can pull objects out of the sky glow! This enables astrophotographers to capture exceedingly faint objects by taking longer exposures or stacking numerous shorter images.
The key to making objects visible in astrophotography is signal to noise ratio, a measure of how bright the target is compared to the background noise. Generally speaking, signal increases with the square root of the number of images stacked.

This means that taking four pictures doubles the signal to noise ratio! Taking nine pictures triples the ratio! Typically, a signal to noise ratio of at least 5 is considered acceptable.