There are lots of accessories out there for amateur astronomers — some cheap and some not so cheap.
One of the cheaper accessories is called a planisphere (or rotating star finder).
It’s become one of the go to accessories for me and has helped me find my way around the night sky on many nights. For that reason, I highly recommend them for beginners.
What is a planisphere?
A planisphere is an astronomy tool used to help you locate constellations and deep sky objects in the night sky.
They are excellent for a few reasons.
First, unlike apps you use on your phone to help you locate stars they are low tech and don’t rely on electricity or batteries.
This is super important because once your eyes get adjusted to dark skies, you don’t want to expose them to bright lights such as those from a phone screen.
That’s because it could take you 15 to 20 minutes for your eyes to get adjusted but only a few seconds for you to ruin that adjustment to darkness.
Instead, you can simply use a dim red light to take a view of your planisphere and then find your way around the night sky.
The other reason why planispheres are great is because they can get you instantly familiarized with the night sky.
This is super helpful if you have stepped away from astronomy for a few weeks or are going out at a different time because the night sky could look drastically different from what you are used to.
And even if it is still daylight outside, you can still use it to plan out your astronomy sessions by getting a preview of where certain constellations will be later on in the evening.
Planispheres are also a great way to learn the night sky.
They will help you locate and remember some of the brightest stars and also learn how to make connections within the constellations as well as between them. It’s very useful for learning some of the more prominent stars like Vega in the constellation Lyra.
How to choose a good planisphere
There are a few different brands out there that you can choose from when getting a planisphere and you can even make one yourself if you want.
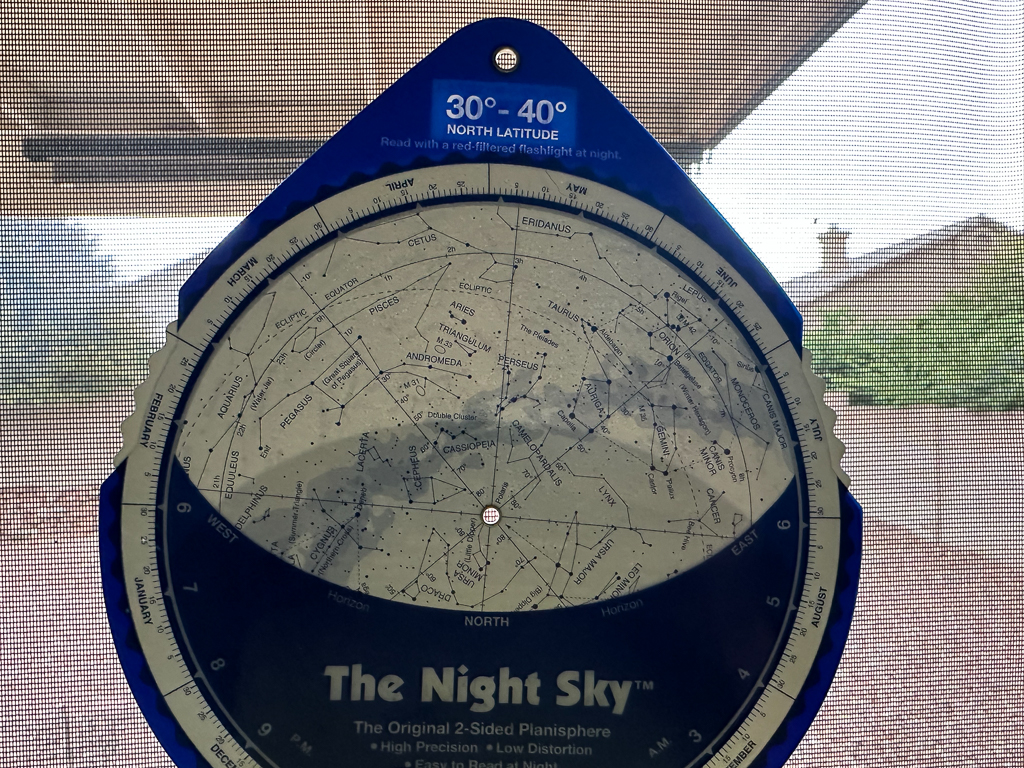
Personally, I really like the brand that I got called The Night Sky.
It feels like it will last me a while and so far it has performed very well.
The key thing to know about purchasing a planisphere is that you want to get one that is designed for your latitude.
Remember, the closer to the poles that you get from the equator the higher the celestial pole will be in the sky, which also means that constellations will be in different places.
This is why you want to get a planisphere that works with your latitude. For example, I live in the Tucson area at 32° latitude so I purchased one with a latitude range of 30° to 40°.
You can find both large versions and pocket size versions so it comes down to how much portability you think you will need.
If you are just going to be observing in your backyard then I think you should go with a large version so that you can see more detail and perhaps learn the night sky better.
How do you use a planisphere?
Step 1: Get familiar with it
When you first look at a planisphere you might be a little bit confused.
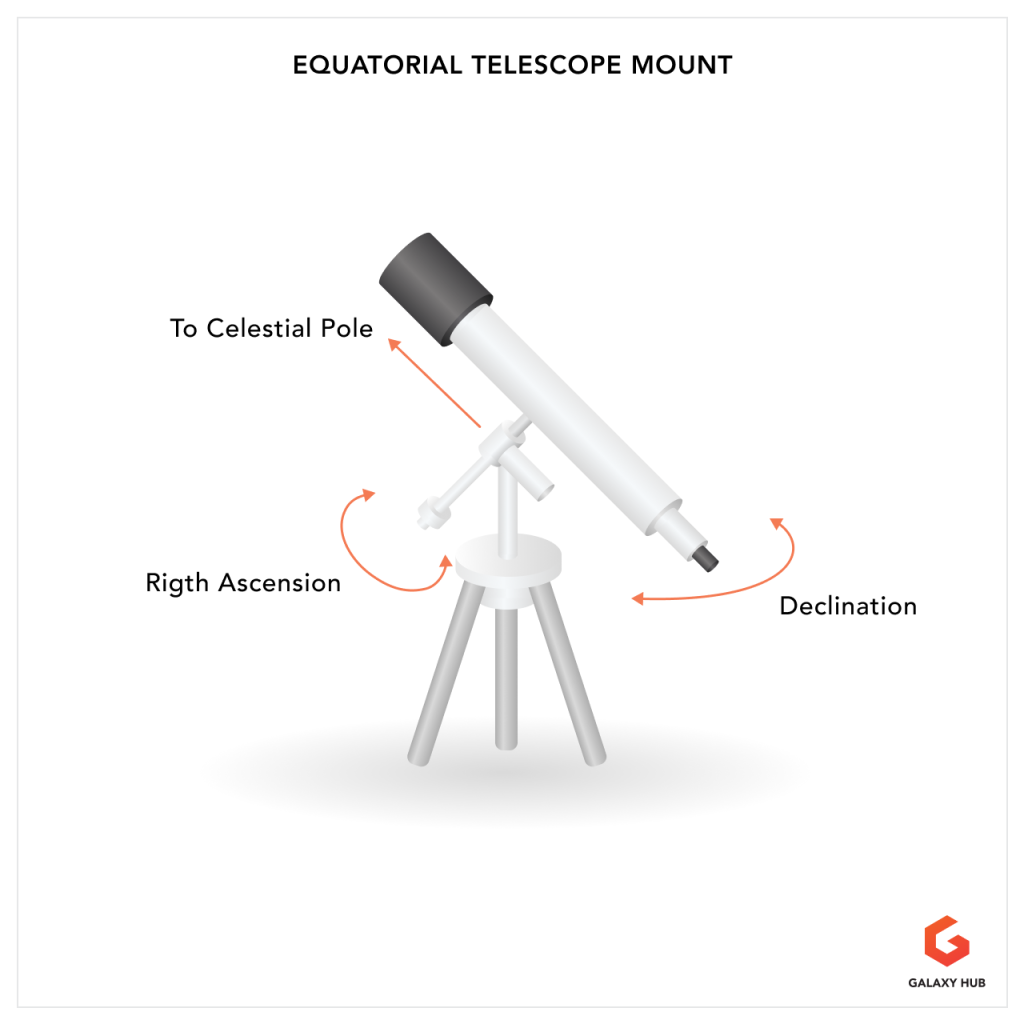
That’s because there is a lot going on with different constellations and different lines like declination and right ascension, the ecliptic, the celestial equator, and potentially other markers for things like star clusters, galaxies, and nebula as well.
If you see a line of big shadowy blobs running across your planisphere that is the band of the Milky Way that is visible to the naked eye under dark skies!
Be sure that you take a moment to figure out what all of the different elements are on your planisphere so that you know what you’re looking at.
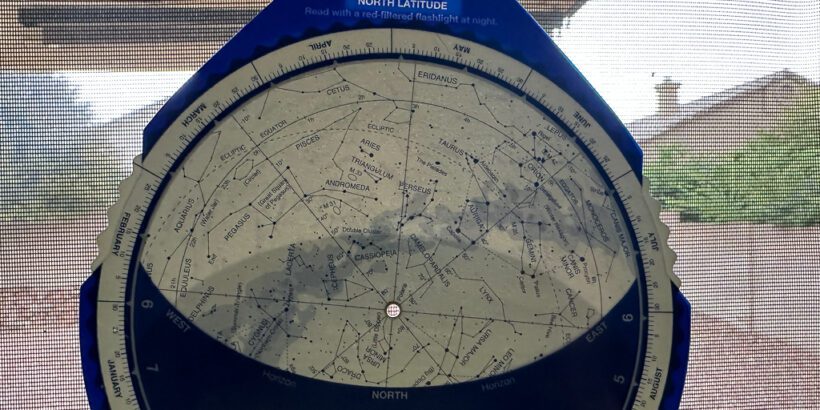
Step 2: Line up your current time and date
The second thing that you want to do when using a planisphere is to line up the date and time so that the “paper sky” showing on your planisphere matches the real sky you are currently looking at.
Depending on the design of your planisphere, you may have some little notches on the side that you can use to rotate the “disc” of dates.
You simply rotate the dates until the current date matches the current time. (For daylight savings time, you can subtract one hour.)
For example, in the photo below you can see that October 12 lines up with 8 PM. So the planisphere is showing me what the night sky looks like at exactly that time on that date.
Remember, objects that appear low on the east horizon during the evening will be on the west horizon early in the morning.

At this point you are almost ready to use the planisphere to help you navigate the night sky but you still have one more step.
Step 3: Orient yourself in the right direction
Now, you need to orient yourself with the right cardinal direction (N, E, W, S) so that the view of your actual sky matches the view you see on the paper sky of your planisphere.
This gets a little bit tricky sometimes because you have to account for the curvature of the night sky (which you can try to do by bending the planisphere).
The best method that works for me is to simply face north and line up my view with the north “paper horizon” on my planisphere.
If the sky is dark enough, I’ll be able to see the entire Little Dipper but if not I should still be able to locate the North Star and perhaps some of the stars in the Big Dipper of Ursa Major.
Once I am certain that I am looking north, then I can take a look in other directions such as looking over the east horizon.
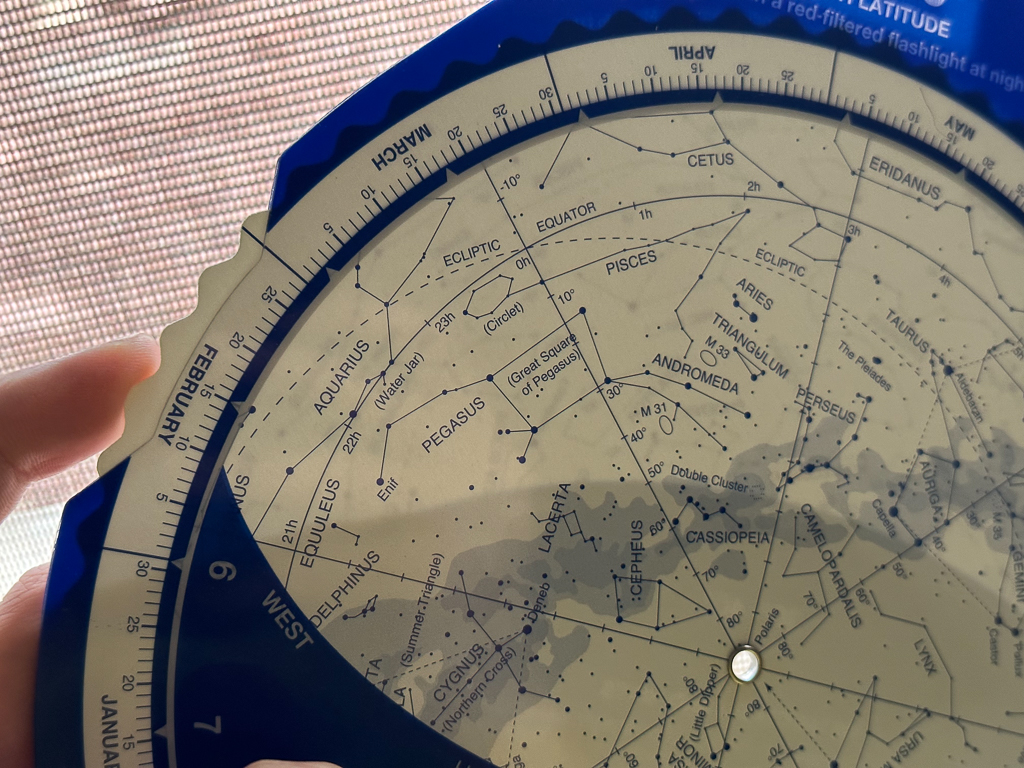
Whenever I turn to a different direction like the east horizon I will hold the planisphere towards that direction and slightly rotate the planisphere (not turning the dials) so that the east horizon shown in the planisphere matches the horizon and sky directly in front of my eyes.
In other words, the east paper horizon on the planisphere should be flat (parallel to the ground) if I am looking to the actual east horizon, just like you see in the photo below.

Another thing you can do is to try to line up what is located at Zenith (directly above your head) with what you see on the planisphere.
Once you do that then you can get a sense of what is located directly over your head and how that translates to the position on the planisphere.
It’s going to look and feel weird because you’re looking at a curved sky projected on a flat surface but it should still be helpful enough to locate what you’re looking for.
If you want to check out the sky in the south, you can flip the planisphere over and line up your horizon to check out the night sky.
So to summarize:
You rotate the planisphere date disc to match the date and time to the current date and time.
You then make sure that you are matching the direction of your actual horizon with the direction of the horizon that you see on the planisphere — make sure the paper horizon is parallel with your actual horizon for best results.
Once you do that, the stars on the planisphere should match what you see in the night sky.

Using a planisphere for planets and deep sky objects
If you want to use the planisphere to check out the planets I have good and bad news.
You won’t find the planets on the planisphere chart because they change coordinates in the sky compared to the stars which remain stationary.
However, the planets move along the ecliptic line so just look for that line on your chart and that is roughly where you will spot the planets, assuming they are visible.
Sometimes a planisphere will have deep sky objects marked on the sky chart. However, it’s usually pretty limited to only some of the brightest DSOs so these are often not the best tools to use to locate deep sky objects.
Instead, you may want to rely on an app like Stellarium or simply get detailed star charts online or from guidebooks.
You could also make small notations on the planisphere with a marker to help you locate some of your favorite objects.
Final word
Planispheres are super helpful accessories that can help you instantly find your way around the night sky.
They are usually pretty cheap and easy to transport, making them one of the accessories that you they went to always keep around.
You just need to make sure that you purchase one designed for your latitude and that you get familiar with how to use the turn dial to line up the date and time along with the respective horizon you’re looking at.